Appearance
Joy of Vex Day 3
Clamp and fit, waves
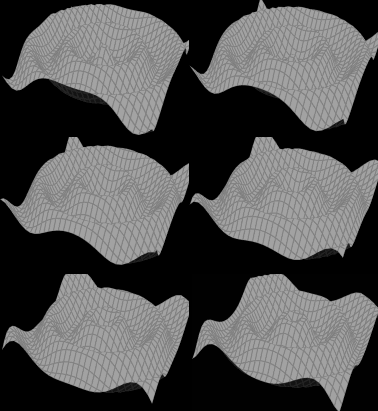
Hopefully you worked out those exercises from yesterday! So to make waves, we set @P.y:
vex
 float d = length(@P);
 d *= ch('v_scale');
 d += @Time;
 @P.y = sin(d);
float d = length(@P);
d *= ch('v_scale');
d += @Time;
@P.y = sin(d);
(If you don't view with wireframes enabled, it'll look unshaded. This is because the wrangle won't update @N for this new shape unless you tell it to, enable 'update normals if displaced' on the second tab, or append a normal sop and view that node instead.)
This wave trick in the above wrangle only works on a flat grid though. To make wave sit properly on non flat shapes requires combining a few ideas.
First, adding @N to @P:
vex
@P += @N; @P += @N;This pushes each point along its normal, like an inflate effect (or a peak sop). To control the amount, scale @N:
vex
@P += @N * ch('push'); @P += @N * ch('push');
In terms of the waves, rather than use the push slider, we use the sin value:
vex
 float d = length(@P);
 d *= ch('v_scale');
 d += @Time;
 @P += @N*sin(d);
float d = length(@P);
d *= ch('v_scale');
d += @Time;
@P += @N*sin(d);And this can also be controlled by a slider to control the height of the waves:
vex
 float d = length(@P);
 d *= ch('v_scale');
 d += @Time;
 @P += @N*sin(d) *ch('wave_height');
float d = length(@P);
d *= ch('v_scale');
d += @Time;
@P += @N*sin(d) *ch('wave_height');
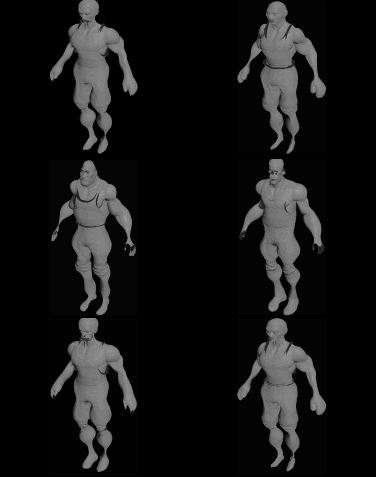
Poor Tommy. The default wave height is good for the grid but too big for the default tommy, here I've used the transform sop to scale him up by 4, and played with the v_scale sliders a bit:

Other uses for length, and introduce clamp
Take out sin for now, go back to a grid, map d to P.y:
vex
 float d = length(@P);
 @P.y = d;
float d = length(@P);
@P.y = d;Get an inverted cone. Can add/subtract/multiply/divide to change the height and placement of this cone:
vex
 float d = length(@P);
 @P.y = d*0.2 - 10;
float d = length(@P);
@P.y = d*0.2 - 10;or multiply it by -1 to invert it, and raise it up by adding an offset:
vex
 float d = length(@P);
 @P.y = d*-1 + 10;
float d = length(@P);
@P.y = d*-1 + 10;Can use a shortcut here, and just type -d (which is implicitly -1 * d)
vex
 float d = length(@P);
 @P.y = -d + 10;
float d = length(@P);
@P.y = -d + 10;If we just want a section of this, can use clamp. Tell it where you want the min and max to be, the values will be limited:
vex
 float d = length(@P);
 @P.y = clamp(d,0,3);
float d = length(@P);
@P.y = clamp(d,0,3);or more usefully
vex
 float d = length(@P);
 @P.y = clamp(1-d,0,3);
float d = length(@P);
@P.y = clamp(1-d,0,3);The other way is to use fit; this will clip the values so that they can only be between 1 and 2:
vex
 float d = length(@P);
 @P.y = fit(d,1,2, 1, 2);
float d = length(@P);
@P.y = fit(d,1,2, 1, 2);Or you can take the graph as it looks when clamped between 1 and 2, and then scale it out so that its stretched to sit between 0 and 10:
vex
 float d = length(@P);
 @P.y = fit(d,1,2, 0, 10);
float d = length(@P);
@P.y = fit(d,1,2, 0, 10);Or do combinations of fit and clamp. Here I've broken it over 2 lines, and added comments (anything after the // will be ignored by vex)
vex
 float d = length(@P);
 d = fit(d, 1, 3, 1, 0); // flip and clamp the range
 d = clamp(d, 0.5,1); // do a sub clamp, just because
 @P.y = d;
float d = length(@P);
d = fit(d, 1, 3, 1, 0); // flip and clamp the range
d = clamp(d, 0.5,1); // do a sub clamp, just because
@P.y = d;and as always, set some sliders up:
vex
float d = length(@P);
float inmin = ch('fit_in_min');
float inmax = ch('fit_in_max');
float outmin = ch('fit_out_min');
float outmax = ch('fit_out_max');
d = fit(d, inmin, inmax, outmin,outmax);
@P.y = d;
float d = length(@P);
float inmin = ch('fit_in_min');
float inmax = ch('fit_in_max');
float outmin = ch('fit_out_min');
float outmax = ch('fit_out_max');
d = fit(d, inmin, inmax, outmin,outmax);
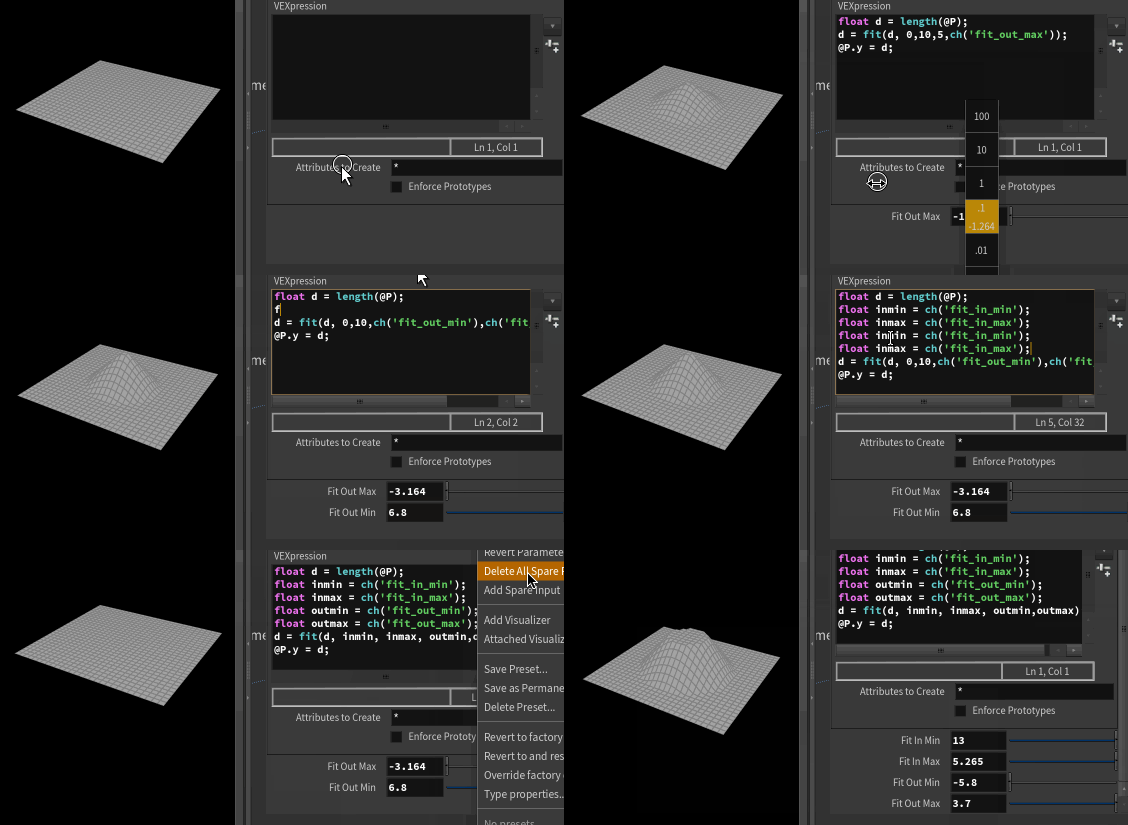
@P.y = d;Here's a little screen capture I was initially going to edit and tidy up, but it shows a fairly common way that wrangles develop; start simple, gradually add complexity, keep inserting and rearranging code until it does what you need. That vex can be so fluid like this is what makes it so powerful and appealing.

Exercises
- Try and incorporate clamp into the above setup, see if you can make it do something interesting.
- Set P based on waves generated from sin(d), but see what happens if you fit and clamp d before sin, after sine, or both before AND after sine.
- waves that start from 2 points and mix with each other (remember the earlier lesson about code style, and += *= vs =, and how you can accumulate results over several lines)
- try and build some of these examples with vops, see what feels faster.
prev: JoyOfVex2 this:JoyOfVex3 next:JoyOfVex4
main menu: JoyOfVex